

Meta description: Learn how to photograph Saskatoon’s autumn colours with softer light, careful exposure, intentional white balance and a simple one-tree exercise.
URL slug: /photograph-saskatoon-autumn-colours/
Introduction
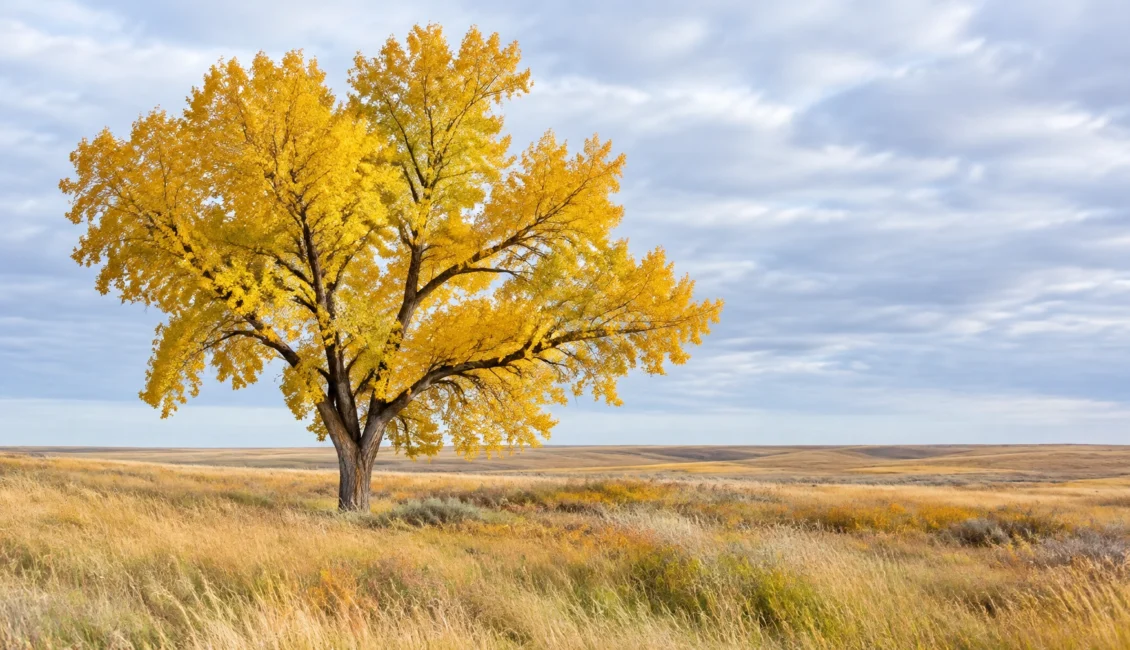
Autumn colour doesn’t wait. When the prairie trees turn gold, you may have only a short window to photograph them at their best. But you don’t need to find a grand vista or capture an entire hillside to make a memorable fall photo. Often, one tree and a thoughtful choice of light are enough.
The key is to see autumn colour as a light problem. Bright yellow leaves can lose detail in harsh sun, while soft or directional light reveals colour and texture. Before you head out, check the light as carefully as you check the leaves.
Technique Explanation: Let the Light Shape the Colour
Midday sun can be tricky. Yellow leaves reflect a lot of light, and bright patches can become so pale that their texture disappears. That’s called clipping: the highlights are too bright to retain detail. Strong overhead light can also create deep shadows that compete with the colour.
Cloudy skies are often a gift. They diffuse sunlight, creating softer, more even illumination that can make foliage appear richer. Soft directional light, light coming from one side rather than straight overhead, can bring out the shape of leaves and branches without harsh contrast.

A changing sky gives you options. If the sun breaks through, try positioning yourself so light passes through the leaves. If it stays overcast, look for a simple subject and let the gentle light do its work.
Practical Steps: Make the Most of Your Time
1. Isolate one subject. Instead of trying to photograph a whole hillside, choose one tree, one branch or a small cluster of leaves. Look for a clean background that helps the colour stand out. A darker backdrop can make golden leaves more distinct; a pale sky behind them may pull attention away.
2. Set your white balance deliberately. Auto white balance can shift between frames as you recompose. Choose Daylight for a consistent, natural starting point, or try Shade for a warmer golden feel. Take a test photo and check that the yellow still looks believable. If you photograph in RAW, you can fine-tune white balance later, but a deliberate in-camera setting still helps you work consistently.
3. Protect the highlights. Check your histogram after a test shot, and watch for highlight warnings if your camera has them. If bright leaves are losing texture, try exposure compensation around -1/3 to -2/3 EV. Review the result and adjust rather than relying on one fixed setting. The goal is to retain detail in the brightest leaves without making the whole photograph too dark.
4. Choose your aperture with intent. For one branch or a small group of leaves, a wider aperture can soften a busy background and draw attention to your subject. For a tree with visible surroundings, use a smaller aperture to keep more of the scene sharp. Take a test image and check that the important leaves are in focus.
5. Use a polarizing filter carefully. A polarizer can reduce glare on leaves and help reveal colour and texture. Rotate it while looking through the camera, and stop when reflections are reduced enough, not necessarily when they disappear completely. Too much polarization can make leaves look flat. Remember that a polarizer reduces the light reaching your camera, so check your shutter speed afterwards, especially if branches are moving.

Try This Exercise: Photograph One Tree Seven Ways
Choose one tree and stay with it for a few minutes. Make seven different photographs without changing your subject:
- Wide: Show the tree in its surroundings.
- Close: Fill the frame with a branch or cluster of leaves.
- Low angle: Look up through the canopy.
- Detail: Focus on a single leaf or small pattern.
- Silhouette: Expose for a bright background and let the tree go dark.
- Different background: Move until the leaves sit against a darker or simpler backdrop.
- Different light: Wait for a cloud or a break in the cloud to change the way the leaves are lit.

Compare the results afterwards. Which frame communicates the feeling of the season best? Notice how changing your viewpoint, framing and light can transform the same tree into seven distinct photographs.
Final Tip: Try Backlight
When sunlight comes from behind the leaves, it can make them glow. Look for leaves with light passing through them, and place a darker background behind the subject if possible. Keep the sun itself out of the frame or partly hidden behind a trunk to reduce distracting flare. Then check your exposure: protect detail in the brightest leaves, and adjust if the subject looks too dark.
Call to Action
Autumn is a perfect time to practise seeing light, simplifying a composition and making deliberate choices with your camera. Try the seven-photo exercise before the colours change, then share your favourite frame with someone who loves photography.
If you’re looking for a photography club Saskatoon photographers can learn and create with, we meet every Tuesday at 7 p.m. from September to May. Your first meeting is free, and photographers of all experience levels are welcome. We’re affiliated with CAPA and PSA, too. Come meet us at the Saskatoon Photography Club: a friendly place to learn, share and keep growing beyond what you might find in photography classes Saskatoon offers.